Tag: how to

How to Make Your Own Kombucha at Home

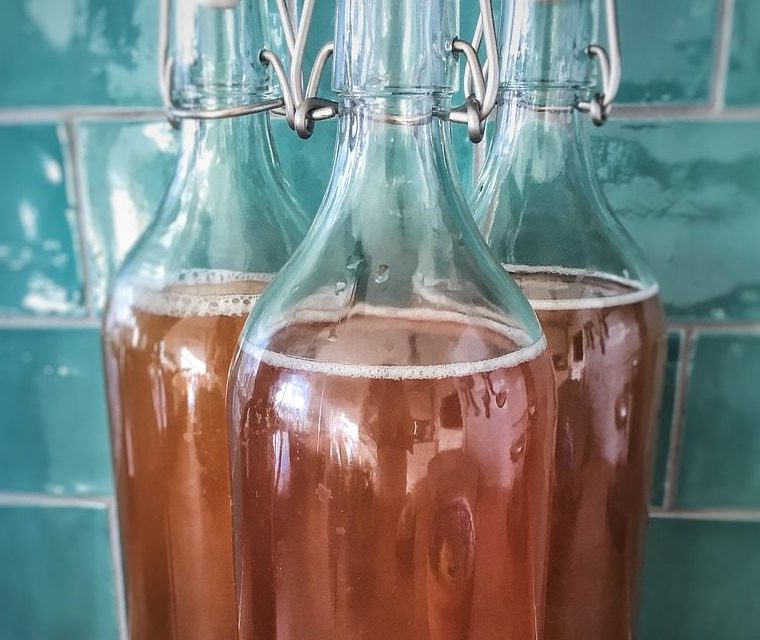
If you run with the crunchy or semi-crunchy crowd, chances are good that you have heard of the delightful, bubbly brew known as kombucha.  Now kombucha has been around for centuries – it’s quite simply fermented tea — but it seems as though the general public is just catching on to this magical elixir in the West in recent years.  Known for its healthful qualities, you would be well-advised to include this effervescent beverage in your diet.  While kombucha can get a little pricey if you purchase it at the store regularly, brewing it at home is simple and affordable.  Check out The Big Book of Kombucha for a comprehensive look at all things kombucha. In the meantime, this is How to Make Your Own Kombucha at Home so you can get started today!

What you need

  • Scoby and starter liquid (no, this is not some alien life form, though it closely resembles one)
  • Glass container for brewing, a one-gallon glass jar is fine to start with
  • A breathable, cotton cloth large enough to cover the jar opening, plus rubber band to secure it
  • Tea (black is good), filtered water (no chlorine), and sugar
  • A pot for brewing tea on the stove
  • Spoon for stirring sugar into tea

Brewing the kombucha

  • Prepare 3 quarts of black tea according to directions on the package. Use only filtered water, free of chlorine.
  • When tea has steeped, add ¾ c. of sugar and stir until dissolved, let tea cool; if too hot it will kill your scoby or crack your glass jar (and we wouldn’t want that!).
  • After the tea has cooled pour it into your gallon glass container, slip the scoby in, and pour the starter liquid over the top.
  • Finish by covering the container tightly with the breathable cotton cloth and rubber band.

Now sit back and let your kombucha bubble.  In 7-14 days it will be ready for a taste test; if you like it, start the process over and keep on crafting that kombucha!

How to Choose the Right Wood-Burning Stove

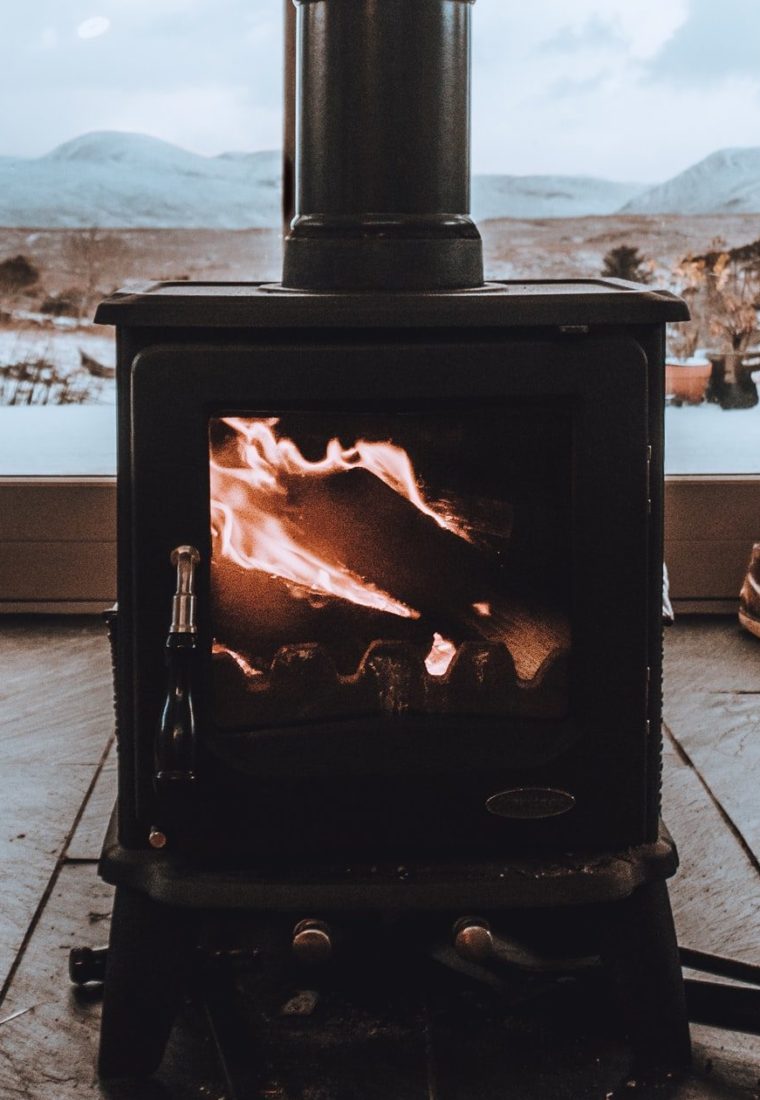
The idea of curling up next to a roaring fire is very appealing. So is the notion of being able to heat your home or cook during a power outage. Wood stoves heat very efficiently, and can also make your home feel cozier. What factors should you consider when buying one? Check out how to choose the right wood-burning stove for your homestead for all you need to get started.

1. Choose a Size and Rating

The size of the wood stove is very important. The U.S. Department of Energy states that a stove rated at 60,000 BTUs is capable of heating up to 2,000 square feet, but one that is rated at 42,000 BTU will only heat a 1,300 square foot area.

To heat a 2,000 square foot home, you’ll need a firebox that’s between 2.0 and 2.5 cubic feet. One that is only 1.5 cubic feet might be better for heating a smaller home or even a cabin.

2. Consider your Floor Plan and Layout

A wood stove can better heat open spaces because there are fewer partitions blocking the warm air. Even so, you can often heat a two-story home just as efficiently as you can a single-story residence, since warm air rises.

Consider whether you will use your appliance as a primary source of heat or only for supplemental warmth. You should also decide if the stove will be used to heat only one or two rooms or your entire home. Only then will you be able to choose the right size appliance to fit your needs.

3. Decide between a Fireplace Insert and Wood Stove

There are basically two types of stoves: a fireplace insert and a freestanding wood stove. A fireplace insert is designed to fit inside an existing fireplace box. A freestanding stove, on the other hand, can be placed nearly anywhere.

Choose a fireplace insert if you would like to increase the functionality of your fireplace and reduce the amount of heat loss through your chimney. Go with a wood stove if you do not have an existing fireplace or want more flexibility as to where you can place it.

4. Compare Catalytic vs. Non-Catalytic Stoves

A catalytic stove contains a device similar to that of the catalytic converter found in your car. Accordingly, catalytic stoves produce fewer emissions than their non-catalytic cousins.

The Department of Energy also reports that a catalytic stove or insert can have a Higher Heating Value (HHV) of up to 83%. At the same time, they work most efficiently when they have a fire burning at “full throttle.” This means you may not achieve the same efficiency if you only burn small fires. A catalytic stove will also contain more mechanical parts that will eventually need to be replaced.

5. Compare Pellet Fuel vs. Wood

Stoves may burn either firewood or wood pellets. Some pellet stoves may even burn other types of organic waste such as corn or cherry pits.

Both pellets and firewood will provide you with amazing warmth. Nonetheless, a pellet stove is often less expensive than a wood-burning appliance, and can sometimes be directly vented when there is no chimney or flue. Consequently, you could save quite a bit of money on installation.

With a pellet stove, you will need to purchase bags of pellets at a farm or hardware store. During a winter storm, stores often run out of wood pellets, making them extremely difficult to find. So you may need to lay in a supply of them ahead of time if you decide to go this route.

Another option would be to install a wood stove but purchase an optional pellet basket. In this way, you can switch between burning regular firewood and wood pellets as needed.

As you can see, there are plenty of things to consider when purchasing a wood stove that will ensure you are well prepared for anything. Keep the above tips for how to choose the right wood-burning stove for your homestead in mind in order to simplify the process.

Don’t miss these tips to keep your wood fire burning longer.
How to Make Orange Marmalade and Preserve It

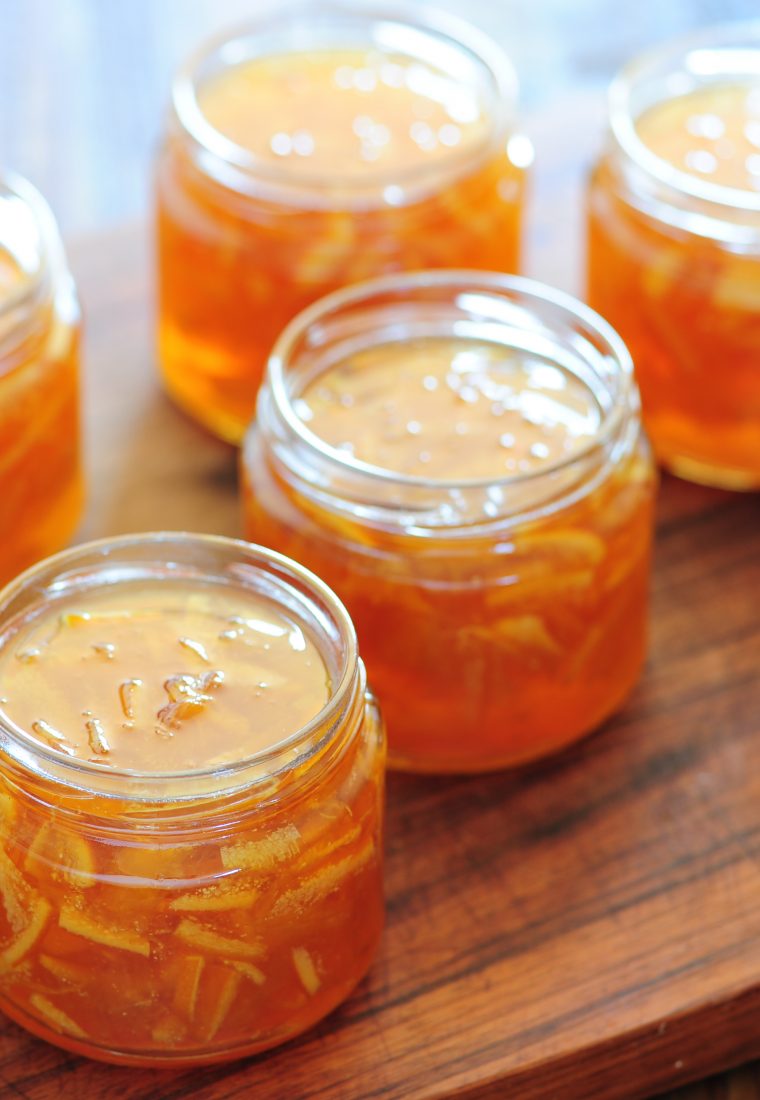
“Bears like marmalade,” says Paddington Bear in A Bear Called Paddington. While we can’t say for sure whether bears actually do like marmalade, it’s certainly possible considering how delicious the citrus jam is. Not only is orange marmalade delicious, but it’s easy to make. Plus, when you make it yourself, you can easily verify that it’s organic, vegan, and gluten-free. Interested? Keep reading for more information on How to Make Orange Marmalade and Preserve It.

To make the orange marmalade you’ll need

  • 2 oranges (organic is preferable since you’ll be using the orange rind)
  • 2 cups granulated sugar
  • juice of 1/2 a lemon
  • 2 cups of water

To preserve your orange marmalade you’ll need

How to Make Orange Marmalade

*If you are planning on canning your orange marmalade, please read that section before making your marmalade.*

  1. Put a small plate in the freezer (we’ll come back to this later).
  2. Wash your oranges well.
  3. Use a vegetable peeler to remove the orange rind, leaving the pith behind. Cut the rind into thin matchstick pieces. *see note
  4. Finish peeling the oranges, removing the pith. Chop the fruit into small pieces, removing seeds as needed.
  5. Place the orange rind into a medium saucepan with two cups of water. Bring to a boil. Boil for 20 minutes. Drain.
  6. Combine the cooked orange rind with the fruit, sugar, lemon juice, and 2 cups water in the saucepan. Bring to a boil then reduce to a simmer.
  7. Simmer for 40 minutes, stirring frequently.
  8. Remove the plate from the freezer. Using a ladle, carefully pour some of the marmalade onto the chilled plate. Tip the plate. If the marmalade runs a little but then stops and firms up slightly, it’s ready. If it runs across the plate without stopping, keep simmering the marmalade. Repeat the plate test every 10 minutes or so, making sure to chill the plate between tests.
  9. Once the marmalade is finished cooking, refrigerate it or continue with the canning instructions below.

*Note: If you prefer your marmalade quite bitter, skip this step. Simply wash your oranges well, cut them into quarters, and slice the entire fruit (pith included) thinly. Continue with step 6, boiling the orange slices with rinds, sugar, lemon juice, and water until the marmalade is set.

How to Preserve Your Orange Marmalade

The recipe above makes about 3 half-pint jars of orange marmalade. You can make as many batches as you would like and can them for future use.

  1. Before making your marmalade, clean your canning jars and screw bands in hot soapy water. Sterilize the lids by pouring boiling water over them and letting them sit until needed.
  2. While the marmalade is cooking, fill your boiling water about 3/4 full of water. Bring it to a simmer.
  3. Ladle hot, finished marmalade into canning jars, leaving a 1/4 inch gap between the marmalade and the top of the jar. Use a wide mouth funnel to help prevent spills.
  4. Wipe jar rims and threads with a damp cloth. Put lids and screw bands on.
  5. Using the canning rack, carefully lower the jars into the boiling water canner. The jars should be covered completely with an inch or two of water above them. Add more boiling water if needed.
  6. Put the lid on the canner, bring to a boil, and boil for 5 minutes.
  7. When the 5 minutes is up, use the jar lifter to carefully remove the jars from the boiling water bath. Place jars on a towel to cool. As they cool, the seals should lock. You may hear them pop into place. Check the seals after the jars have finished cooling (don’t touch them beforehand). If the seal stays in place when pressed, you have successfully canned your marmalade! If the seal pops back after you press on it, put that jar in the refrigerator.

Congratulations you know How to Make Orange Marmalade and Preserve It. We hope you enjoy making, preserving, and eating your own orange marmalade!


How To Start a Homestead While Living in the City

There is a misconception that you need to live out in the country on acres of land in order to start homesteading. However, you don’t need to move away from the city to benefit from homesteading. Here are some simple steps that you can take to start your homestead while living in an urban environment. Read on for How To Start a Homestead While Living in the City.

Join a Community Garden, Co-Op, or Group

Even in the most densely populated cities, there are community groups of like-minded individuals who have an interest in homesteading. Complete a basic Internet search to see what kinds of community gardens, co-ops or homesteading groups already exist in your city. You may be surprised to find that membership only requires a volunteer commitment or a small fee. If you discover that there isn’t a community garden in your area, you can start one yourself.

Research City Laws

Every city is unique. However, many cities allow for rooftop gardens. Research the legalities of homesteading in your particular city. You may find that you are able to own chickens, start a rooftop garden, or participate in other forms of homesteading that you may not have realized.

Start Small

You can always start your homesteading journey in small ways. You do not need to start a giant vegetable garden and orchard or raise a dozen chickens to be a homesteader. If none of these options are available to you, there are other homesteading skills that you can start learning. This includes canning and pickling vegetables and fruits you can purchase from a local farmers market, learning to make and mend your own clothes, and creating your own varieties of soap.

You can start homesteading no matter where you live, even in urban environments. Whether you join a community garden or find other homesteading skills to learn, you can reap the benefits. If you decide to move somewhere else, you can often take your small container gardens and pantry staples with you.